How to Build a Graph in Excel?
A graph is one of the best tools for visually displaying any statistics and information. If we talk about the programs included in the Microsoft Office package, we can note the fact that they offer many different tools for maximum comfort when working with data. Including there are functions for creating diagrams. They can be found in several products, but specifically now we will talk about how to build a graph in Excel. office.com/myaccount
The spreadsheet program is one of the most powerful tools in its segment. It combines thousands of functions that are recommended to be mastered in order to learn how to get the perfect result.
Where to start
To answer the question of how to build a graph in Excel, the first thing to do is take care of the source data. It's about preparing everything properly.
You can start by simply creating a primitive two-column table. The left will display information regarding the days, and the right will already include the attendance values directly. In just a couple of minutes, everything is ready; there will be no problems with this.
Adding a Graph
Now comes the key step. It consists directly in adding a graph to an Excel sheet. To do this correctly, you just need to follow the elementary instructions described below:
- Use the mouse to select cells on the sheet. We are talking about holding down the LMB to capture the area in which the attendance information is directly displayed.
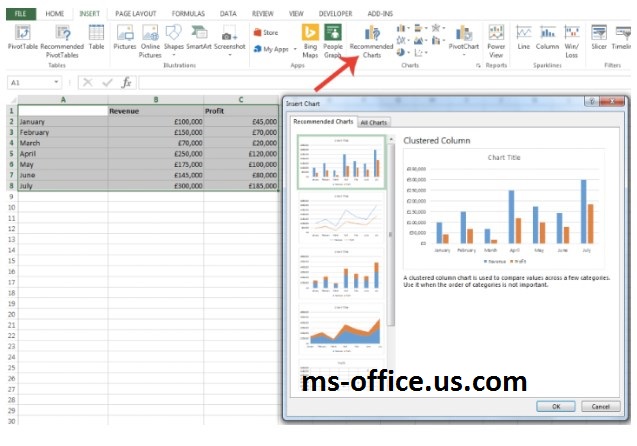
- Now you need to pay attention to the menu located at the top of the window. There are quite a lot of different tabs, one is called "Insert". It must be opened to continue the instructions.
- Among all that will be offered to you, find a block of information called "Charts". Thumbnails of diagrams, histograms will be drawn there. One of the elements is an icon with graph lines. There is an additional way to ensure that the correct option is selected. Hover over it and the name "Insert Graph or Area Chart" will be displayed. Click this button once with the left mouse button.
- The system will display a small pop-up window in front of you, where you will be asked to make some choice between the available options. In the case of the example, to answer the question of how to build a graph in Excel, the most standard option will be selected. By clicking on it with the left mouse button, you will instantly get the result in the form of a displayed object on the worksheet.
Finalization of the schedule
In fact, the vast majority of all operations have already been implemented, so it remains only to make some adjustments. The list of operations that will be listed below are only recommendations. You can selectively perform certain actions to achieve the best result:
- The first step is to add a name for the chart. It is extremely simple to do this, since such an opportunity was originally provided. Double-click on "Chart Name" to bring up a cursor in a small box. After that, delete all content and enter your name.
- If you carefully study the graph, you will notice that its axes are not labeled in any way. Therefore, if a person sees this element not in conjunction with the table, it will be extremely difficult for him to understand what exactly these or those parameters mean. To add axes, click on the chart to highlight it. Buttons will appear on the right, one of which looks like a green plus. Click on it and among the available options check the box next to "Axis names".
- You shouldn't stop there. By clicking on the same green cross in the upper right corner of the chart block, you can observe a large number of elements that can be displayed by checking the box. What is useful there? It is recommended to add the "Data Labels" option. As a result, the exact value from the table will be displayed at each of the vertices of the graph. Another unique tool "Trend line" will allow you to see a clear direction of where the indicator is moving in dynamics. Optionally, you can display the data table directly below the graph. As for the other points, they may be useful in some specific cases.
- Editing the appearance is another point worth mentioning when answering the question of how to plot a graph in Excel. What is this about? Everything is quite simple - you can choose the appropriate design for the greater attractiveness of the created object. Click on the chart, and then pay attention to the menu item at the top called "Constructor". Open this tab so that the corresponding tools appear in front of you. In the "Chart Styles" block, you will be offered two options. The first is the choice of color. We are talking about the color scheme that will be characteristic of the graph. The second point is the style itself. There are more than a dozen options; you just have to indicate the most attractive among them for you personally. office.com/setup
Conclusion
As you can see, there is nothing difficult in learning how to build a graph in Excel. The main thing is to act consistently, adhering to the proposed instructions. Then you are guaranteed to get exactly the result that interests you.


