How You Can Use Disk Management for your PC ?
Basic disk storage consists with partition-oriented disks. It is physical disk comprised of extended and primary partitions, also known as logical drives. It is possible to create four partitions, of which one of them is an extended partition which includes the logical drive. office.com/setup
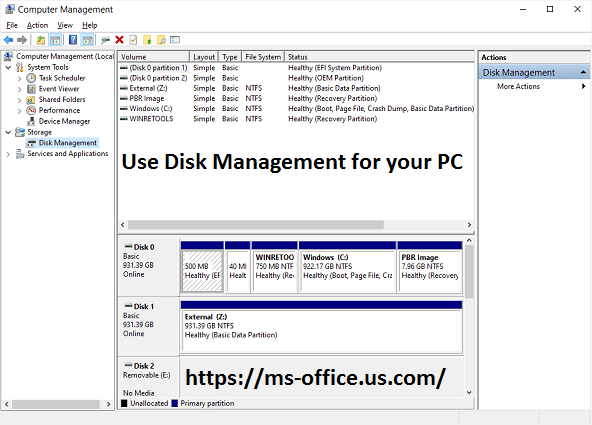
To start Disk Management, at first you must log in as administrator. The next procedure to follow is Start, then click Run and finally compmgmt.msc must be entered and then click OK. The next option is click Disk Management. This will open the Disk Management window will be observed in both list and graphic views. The user can change the appearance of the disk by choosing which view to view from top and bottom. Then select the the desired option.
creating a new partitions (or logical drive)
Let's look at a brief overview at the steps needed to create a new extended partitions also known as a logical drive. First, right-click on the free space on the disk on which you want to create an additional partition. Then, click on new partition. If you want to create a logical drive one can simply click empty space on the extended partition and then click New Logical Drive. You must click Next in the New Partition Wizard. Select what type of partition, and then proceed to the next step. The next step is to indicate the size of the partition in the Partition Size MB Box. Then, one must decide if they want you want to create a drive name manually or automatically. select one of the formatting methods and select Next. Then, in the final step, you must confirm that the choices selected are correct, and then click Finish. This new drive or partition was successfully created and is visible as the correct basic disk within the Disk Management window.
Formatting the basic volume
Five steps are required required to format a partition, logical drive and basic volume. The first step is to right click on the partition or drive in the Disk Management window to be formatted, and then click Format. Then, you'll be able to enter a name for the volume in the Volume label box of the Format box as an alternative. Click the type of file system you wish to select under the File System box. The size of the disk allocation unit is adjustable and one can indicate whether you wish to do a quick format or allow compression for folders and files for NTFS volumes. Then, click OK, and then select OK when requested for the format of your volume. The format process starts.
Accessing the properties of the basic volume
It is easy to see the properties of partitions or drives; one just has to click on any partition that you wish to view or drive in Disk Management after which select properties.
Remove a partition or virtual drive
To erase the disk or partition first, one must open the Disk Management window, and then select the drive or partition to be removed and select delete Partition or delete Logical Drive. Then, click yes when asked if you want to erase the drive or partition.
Troubleshooting
Disk Management displays following status to provide information on the present status of the disk. Online, Healthy and not readable. To resolve this issue it is necessary to restart the computer or scan the disk in order to restore the disk to its online state. To rescan the disk, you need to open Computer Management. Then, you need to select Disk Management. After that, on the Action menu, select Rescan Disks. www.office.com/myaccount


